Christmas Canvas for Off the Rails December challenge

A quick little share today. I have created a reverse canvas for the challenge over at Off the Rails Scrapbooking this month.


We have two mood palettes on offer this month to get your festive ideas flowing. I chose to go with the more traditional palette for this project but you could easily achieve this using the non traditional option as well.


I've never attempted a reverse canvas before but I had all these little bits and pieces that I'd collected to make a configuration box. I made the box last year for Christmas and had these bits left over.


The fire place I made from cardboard (it took me ages!) but I like the end result. The piles of "wood" stacked in and next to the fire place are actual twigs collected from the garden. I simply painted the ones in the fires place with some black gesso to make them look burnt like coal. The little violin is one of those tiny old plastic Christmas tree ornaments. My Nana used to hang them on her miniature tree that sat in the middle of the kitchen table. I coloured it with brown alcohol ink. The wreath is a frond that I trimmed from our old Christmas tree. It's wire centred so I just curled it around to make a circle and added some berry embellishments.


The Christmas tree I purchased from eBay years ago in a set. I still have 4 of them left. They are old miniature decorations from the 60's. They are a bit bent and covered in crusty replica snow but I think that adds to their charm. The little presents again I made from pieces of cardboard and wrapped them in brown tissue paper. The same tissue paper I used to cover the inside of the canvas and around the edges. I finished them off by tying a little piece of cotton around each one like a ribbon (very fiddly aaagggghhhh!). The image of Father Christmas unpacking his gifts comes from some Kaszazz Christmas themed papers called
"card collage" from the Vintage Christmas range on page 141 of their current catalogue that you can browse HERE. Just perfect for this diorama.


The Christmas baubles are from 2Crafty Chipboard. I coloured two of them with Distress Stain and two with old book pages and then edged them all in black. They are hanging by some black cotton.


The last little feature is this adorable Prima frame. Again, using the Kaszazz card collage paper piece, I trimmed a picture that lokked like a portrait and stuck it behind the frame.


I love this little creation and it looks gorgeous sitting up with my Christmas Configuration Box from last year.

Our sponsor for December is KASZAZZ. Pam Kuhn, independent consultant has offered a $25.00 gift voucher to the winner (Overseas customers stamps only)


So get your Christmas project entered over on the blog at OTR. You can gather some more inspiration on our members Face Book Page and keep up with the latest blog posts.

Good luck and Merry Christmas xx

SATW December challenge

Merry, merry Christmas to you all!
I am flat out this month but ....... I could not resist entering the Scrap Around the World challenge. I took one look at the mood board created by Anna Komenda and went WOW! I have to give that a go! and so I have.
This is my take.
And this is the amazing mood board.
As most of you are aware, I live in Australia and so Christmas for us is all about Bar-B-Ques, pool time, the beach, sunburn, ice-creams, Cricket matches, thongs (the feet variety! other wise known as flip flops) and prickles! (dry front lawns full of burs) so to see a winter wonderland mood board for Christmas really sent my imagination flying!
My background is water colour with a modelling paste stencil of diamonds over it and then a layer of Christmas red blending over a stencil that looks a bit like some baubles hanging. Finished off with some clean black stamping the says "Merry Christmas" of course xx
Some cotton (I can't make a LO with out it!) some beautiful 2Crafty Chipboard and some pretty white lace adorn this little section alone. I have gone a little over board with the finer details on this layout. I had so much fun adding to it that I almost over did it!
I have a paper collection from Kaisercraft called "North Pole" and the colours on the papers are perfect for this mood board. I had to use them. I cut out the little decorative baubles and added them hanging from the centre on fine cotton strings.
The whole style of the Layout was for it to look like icicles hanging from the under side of a glacier cave. I have never seen any in real life but from what I've seen on TV and in magazines on the internet etc this is how I'd represent them in my art. I have seen stalactites in caves in real life! Kind of similar.
The colours on the mood board work so well together it's ridiculous! The PERFECT match. I added some contrast by using black. Especially for my title so it would stand out.
The last little touch in the bottom right hand corner is a sentence from my favourite Christmas Song "Santa Claus is Coming to Town" and a glittery little 2Crafty Chipboard reindeer.

Scrap Around the World you've done it again!

Merry Christmas everyone. I hope your time is safe and fun and all your wishes come true xx


My December 2Crafty Shares


Well here I am again with my 2Crafty Chipboard shares for December. I haven't made them all Christmas themed. Just one, that I intend to enter into the SATW December challenge.

My first creation is a canvas I have put together as a gift for a friend who is much more
 talented than I, as she can make anything she puts her mind to, including sewing. I am
 not a sewer AT ALL which makes me very envious of those who can.

"Sew Clever"


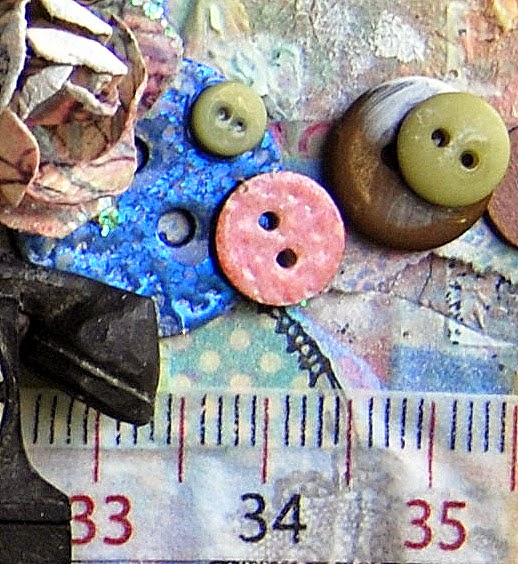
I covered the buttons in Beck BT Tinby Designs Metallic Melts.


I love the buttons on this canvas. I think they work perfectly with the theme.


Some washi measuring tape.


My favourite addition, this beautiful "Elise's Dress Form"I covered the under layer with some small floral patterned paper and painted the top with a light brown, finishing it all off with a rubbing of white gesso.

My second piece today is my Christmas layout that I've also incorporated with the Scrap Around the World challenge for December.

"Merry Christmas"


The mood board is so delicious, I couldn't help myself and I had the perfect 2Crafty Chipboard pieces in mind.


I love these "Whimsy" flowers. I think they look very chrismassy almost like Poinsettia's. I covered one with a texture of white modelling paste and the other with black modelling paste. I also added some bling using glitter and micro beads.


I couldn't resist adding a couple of the "Mini Reindeer's". This one is simply painted black with gesso but the other one I also covered in glitter because it's Christmas and I can!


You will also see, jotting out from around the layout, some of the "Circular Panel". I've covered them in white modelling paste to give them some texture, a bit like snow or white icing. They poke out from under bits of the creation.


I've used a Kaisercraft patterned paper pack called "North Pole". It matched the mood board perfectly.

My last share with you is a page dedicated to my so so so beautiful sister.

"Beautiful"


The inspiration behind this layout, other than my sisters beautiful photo, is the piece of lace I've incorporated into the background. It was sent to me by a lovely friend, Lee from Tasmania, who I met through scrapping. I've been waiting for the perfect chance to use it. The "Heart Silhouette" sits perfectly above the lace. I inked them and heat embossed them with Beck BT's Tinby Designs metallic Melts  and the little one I added Vintage Photo Distress embossing powder.


I've also incorporated the large "Hand Drawn Heart Frame". Again I coloured it with ink to coordinate with the background and heat embossed it to give it some shine.


Finally I added the "Loopy font Beautiful" also coloured and Heat embossed. I didn't cover it completely so it would have a mottled and rustic effect. It's the perfect title for this page.


I hope you've enjoyed my shares this month.
I wish you all a very Merry Christmas and safe new year and I'll catch you all in 2015.

BIG NEWS!!!!!! MASTERS 2015

FINALLY ..... I can share with you my big news. I have been chosen by Scrapbooking Memories magazine to join a very talented team of scrappers as the 2015 Scrapbooking Memories Masters!


Whether you subscribe or run on down to the store each month to get your copy, you'll get to see so much talent showcasing all the amazing creations from the Masters each month. I can't wait for the first issue xx

You'll get to see my smiling face LOL! and all of our Masters entries.


D-Lish Scraps December Challenge

How long has it been since I entered a challenge?? Too long I say. I've been so flippin busy these last couple of months, that I haven't had a chance to even LOOK at the challenge site let alone enter in any. I thought this month was going to be the same and then I saw the AMAZEBALLS inspiration board over at D-lish Scraps and off I went!!

Here it is ....


And here is the AMAZEBALLS inspiration board.


Those colours!!! They are amazing. I love Sorbet ans I love summer so it doesn't get much better than this! 


I was definitely inspired by the arrows ......a bit addicted to arrows at the moment.


I kind of followed the sketch but not really ........ I used the triangles idea, just a bit smaller.


The photo is my quirky lovable girl ..... I've taught both my children to live the life they love so they can love the life they live. Such an important way to be rather than just existing I believe .. So far so good :)

Thank you for popping in. I had an absolute ball creating this one ..... just for me xx


My November 2Crafty Chipboard Shares

Hello! 
October just disappeared for me WOOSH! gone! But I'm back and I have heaps to share with you.
First up is my November 2Crafty Chipboard inspiration.

There are heaps of new chippy designs out for 2Crafty that have just recently been released. Among them are the awesome panels.
You can see them all here but the two I've used this time are the "Hessian Patch Panels" and  "Bubble Grid Panel


I've also been experimenting with lots of different ways to alter the 2Crafty Chipboard. It's been so much fun. For the first layout I painted the chippy with gesso and sprayed it with Tilt-a-wheel Teal from the Lindy's Stamp gang, Flat Fabio Spray set,  "Under the Boardwalk"  by Limor Webber Designs.

"The Best Of Friends" 

 
I also used the panel to spray a stencil pattern onto my background piece using the Lindy Stamp gang Sprays. It is very subtle but looks beautiful. I wanted some of the bubbles to stand out, so I removed the lid from the spray and used a small paint brush to add some further colour to selected bubbles on the chipboard grid. Then I cut it up!!! lol
"Bubble Grid Panel"
"Shrub Set 1"
"The Best of Friends"
"2014's"


The "Shrub Set 1" was also painted with white gesso but I wanted to create some
 texture this time so I added some clear glue with a touch of gold glitter in it and 
dipped the chipboard into some micro beads then sat the pieces aside to dry.


The title "The Best of Friends" 2Crafty chipboard piece was covered with black gesso.
 Once it had dried, I painted on some Glimmer Mist spray to add some colour and shine.


The little "2014" was also painted with the black gesso and added to the top cluster
 of "Bubble Grid Panel". We often forget very quickly the dates of when things happen
. So adding a little chippy year is a great idea. This was such a happy time for my
 sister and brother in-law as they travelled to Melbourne to give a surprise welcomed
 home to their best friend Rachel who had been on a three year stint working in London.


"Fur Baby"


2Crafty products used

"Line Words Happiness"
"ATC tiny Hearts and Stars"
"Arrows Funky"
"Alpha Set 1"
"Circular Panel"
"Geotags"


The title for this layout was created by using the letters from the "Alpha Set 1".
 I painted them with heavy white gesso and once dry, stamped some background 
words over the top.


I had heaps of fun with this creation just experimenting with the different chipboard
 bits and bobs including a couple of the "Arrows Funky" from the set which actually 
has 13 funky designs to choose from. I can't wait to incorporate the rest into my
 projects. The squiggly yellow one, I heat embossed with Beck BT Tinby Designs Metallic Melts in Gold.


I also added a couple of the "Geotags". This set has 17 tags in total but I've only
 incorporated a couple. One I covered in glue and dipped in micro beads and the other
 I gave a base coat of gesso and painted it with shimmers spray.


I also added one of the "Line Words Happiness" because this fur baby gives these 
two so much happiness even if the fur baby doesn't appear too impressed!


My final layout is a tribute to my daughters endless selfies. Don't get me wrong, I love them. 
With out them I would have barely any recent photos to scrap. Keep the selfie alive I say!
 Never has there ever been so many photos of teenagers. I wish they had the "Selfie" in my day.
 I have very few photos of my youth.

"#Hashtag Selfie"


2Crafty products used

"Selfies Word pack"
"Polaroid Assortment Frames"
"Mini Camera's"
"Hessian Patch Panels"


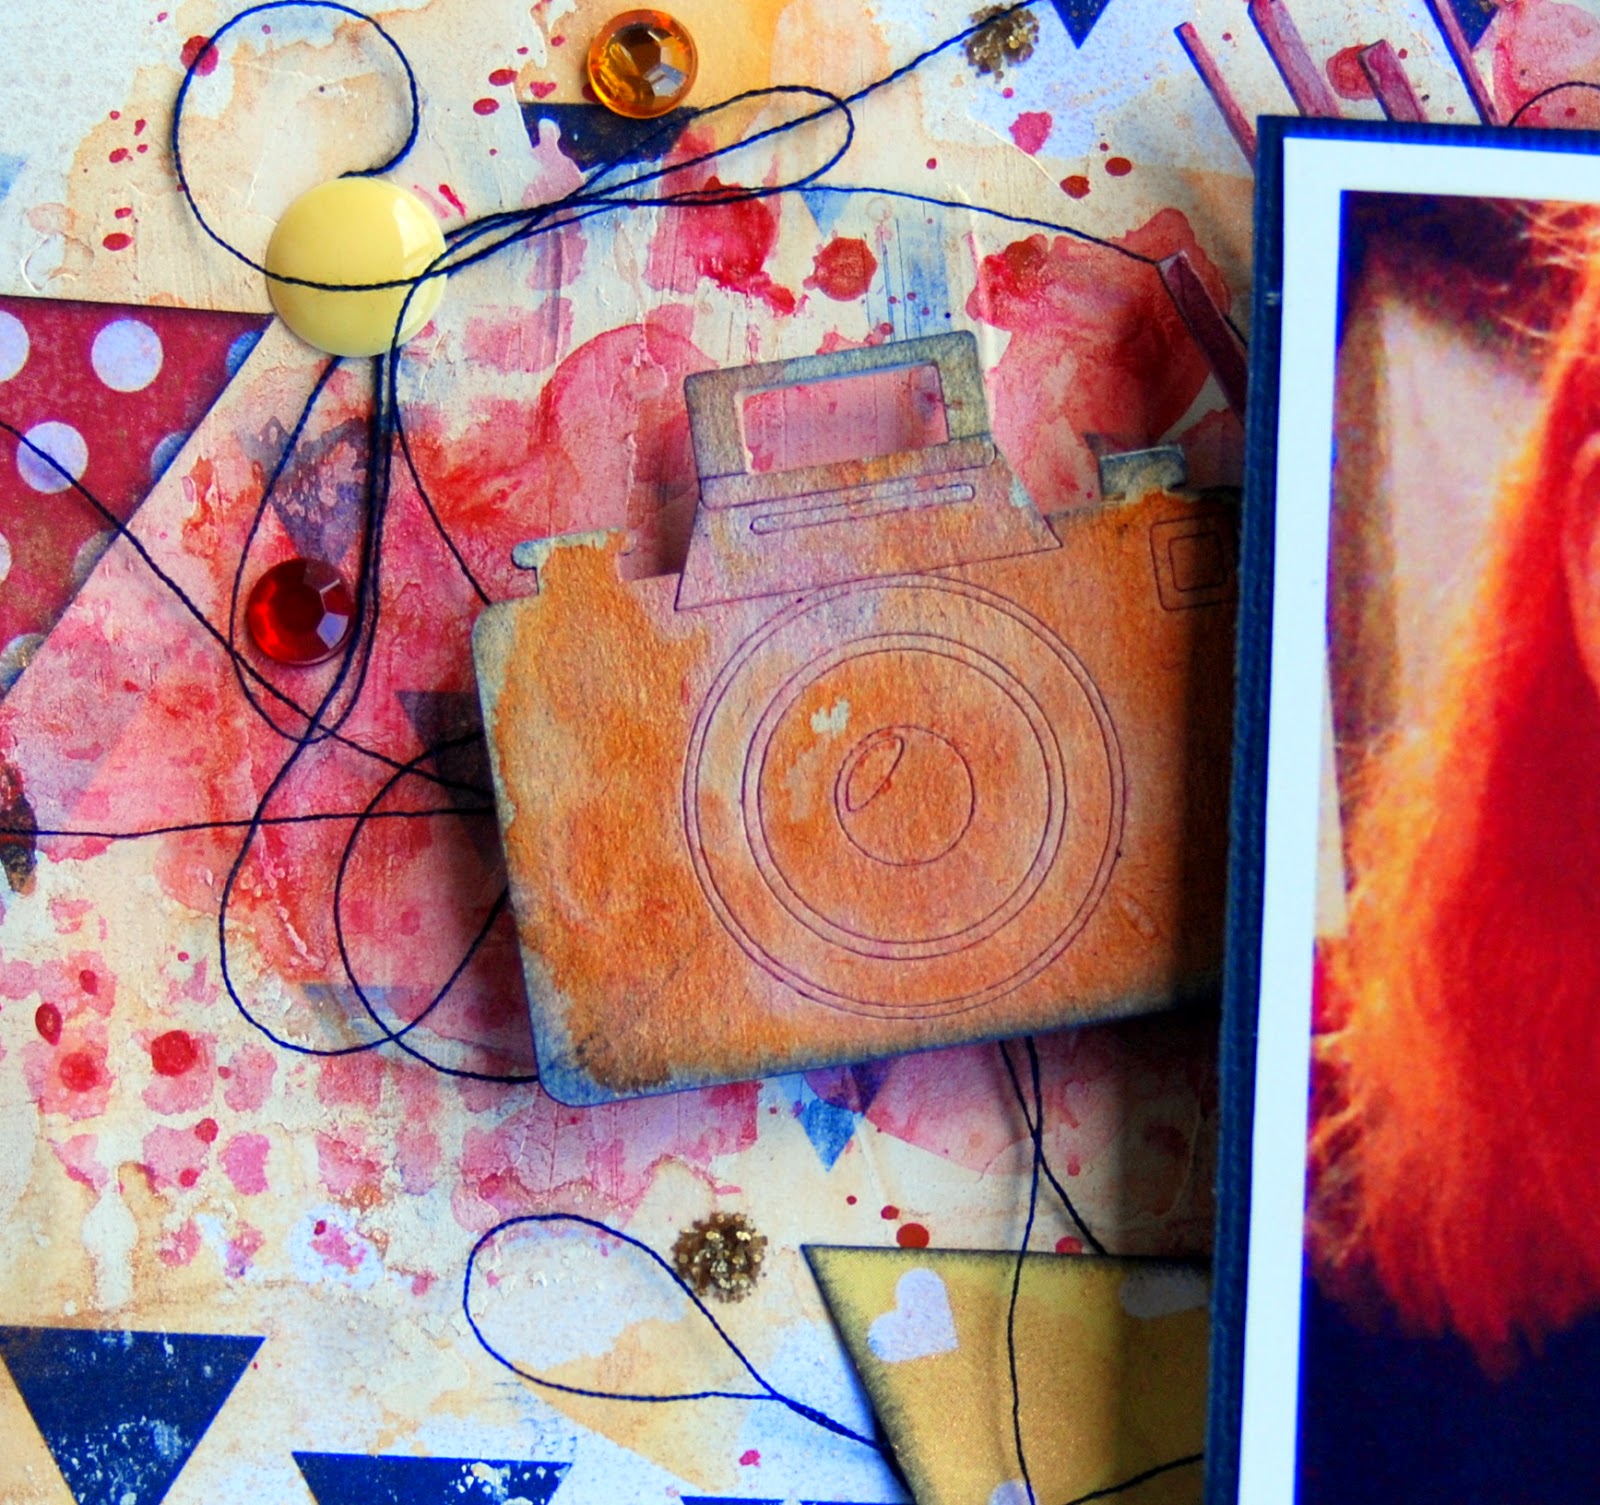
The "Mini Camera's" I lightly base coated with white gesso and then added
 some Water colour paint and edged them in black.


The "Hessian Patch Panel" I also painted with water colour and layered under 
my photo as part of the stack along with the large frame from the  
"Polaroid Assorted Frames" which I covered in fine gold glitter. I also used the
 "Hessian Patch Panel" to create a stencil in the background. I used a stipple brush 
and some water colour paint. I absolutely love how these new panels from 2Crafty 
can be used as stencils as well as being added as chippies!


The title I painted black. It's the largest of the words from the "Selfie Words Pack".
 It looked just perfect propped up on the edge of the selfie!


So that's me again for 2 Crafty for another month. My goodness this year has flown! 

Thanks for popping in xx
Fiona

 And remember, to find a 2Crafty stockist near you, drop an email to...
salesat2crafty@optusnet.com.au